Transmitting DATV over the air with LimeSDR-Mini
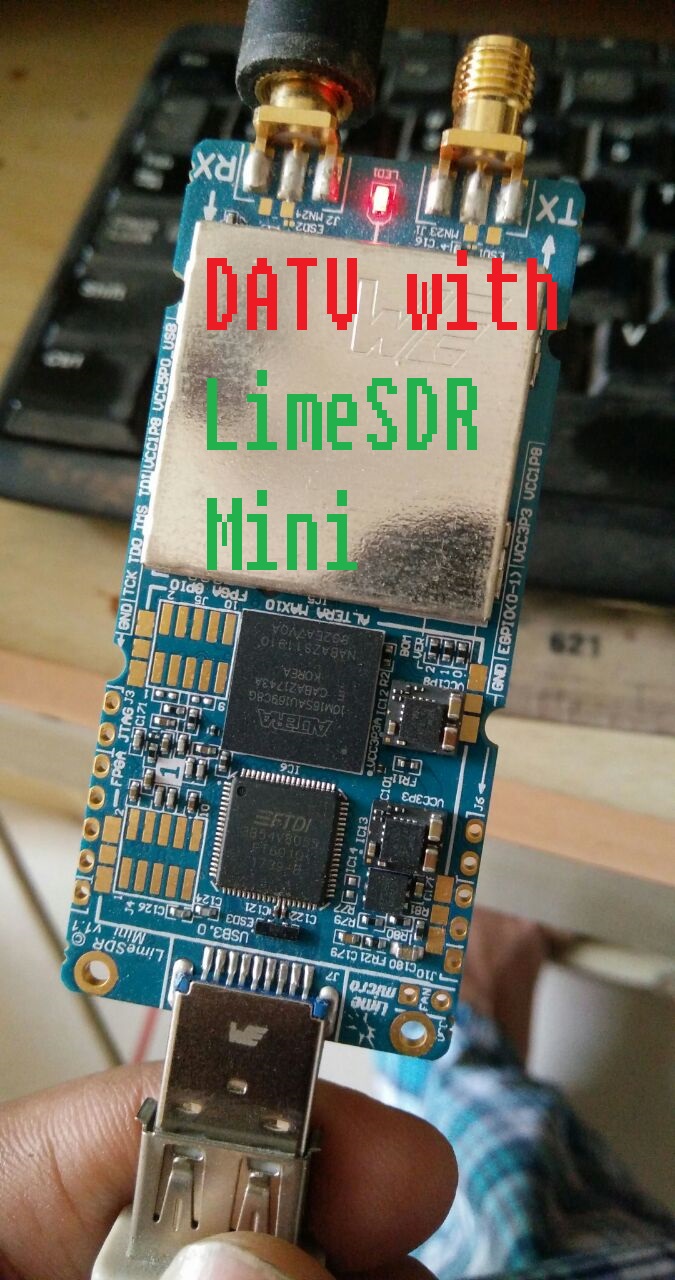
Transmitting voice is something every ham operator must be doing regularly. There is a breed of hams which only stick to digital modes, while some prefer morse. Some ham operators go above and beyond to transmit real-time video stream over the air. Back in the day, ATV (amateur TV) was quite popular. Some still use ATV to transmit video but with software defined radios becoming more and more popular, DATV (digital amateur TV) has become very possible.
I came across LimeSDR a couple of years ago and decided to purchase the mini version of it. I truly enjoyed the massive 40MHz sampling frequency which allows you to observe the entire 40MHz span around the center frequency you choose. A few days ago I came across this video on YouTube which made me try transmitting DATV signals using my LimeSDR-mini.
Basically, this post is a text version of what the video shows. Correspondingly, this post is divided in two sections, the transmitter setup and the receiver setup. As you should have figured, we will use LimeSDR-mini for transmitting the DVB signal. Whereas, RTL-SDR would be the receiver on the other end.
The transmitter setup
There is one per-requisite before you jump in. You must make sure you install LimeSDR-mini drivers and have it working by following the information given on the official website. Moreover, you should also read my LimeSDR post explaining the setup.
Once you are ready with the LimeSDR-mini go and download DATV Express.
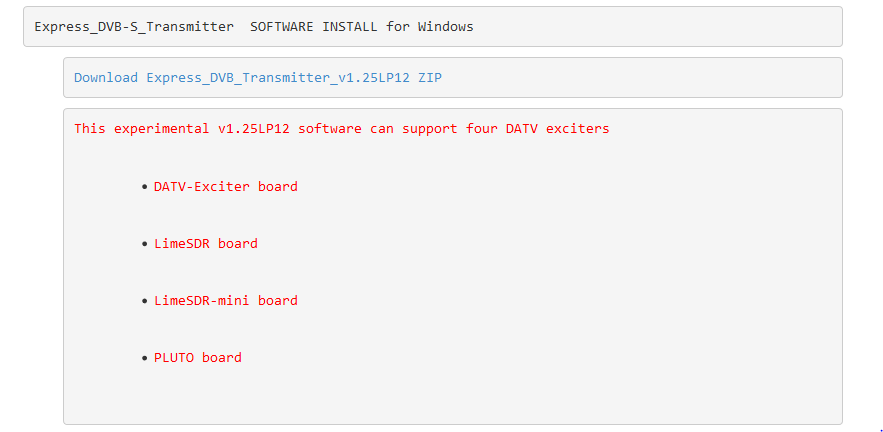
Once you have downloaded DATV Express open it up and it should appear something like this.
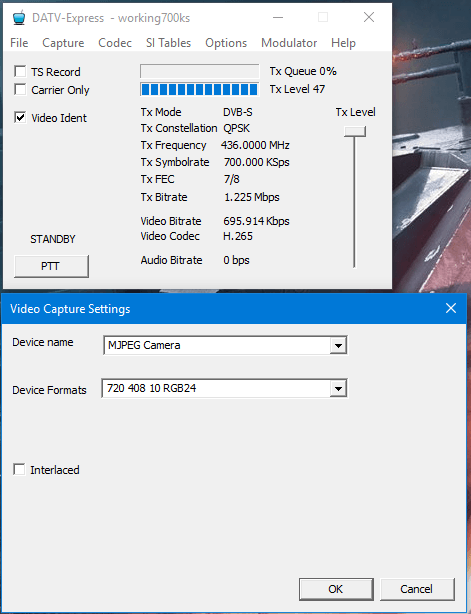
- Go to “Capture” and select “Video”. There, make sure you select proper video source. Usually, it would be your webcam. For someone like me, I have used the camera on my android through an app called “IP Camera”. Make sure you select the video size to whatever suits you. Full HD video will definitely require more bandwidth to push the large number of bits. So, select something in between. Even 480p video looks good and that’s what I have selected here.
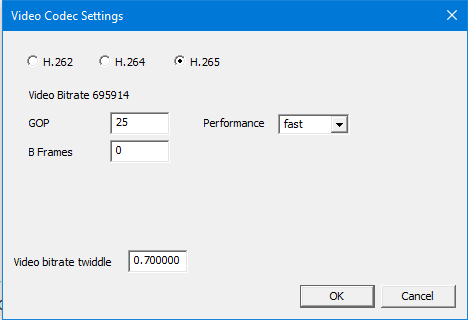
- Now, go to “Codec” menu and select “Video”. There, you can select the codec you prefer. If you don’t really know what it is, simply select H.264 or H.265 and keep the performance to “fast”.
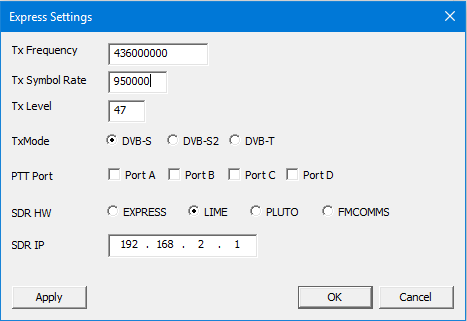
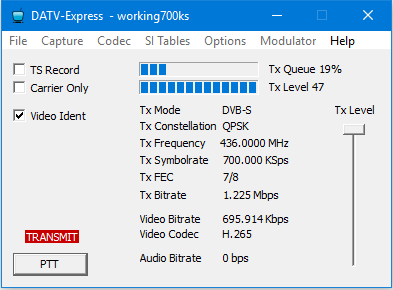
We are now ready with your transmitter setup. If all goes well, you should be able to click the “PTT” button and within a few seconds you would be transmitting live video on air.
The Receiver setup
As mentioned previously, we will be using RTL SDR as a receiver on the other end to capture our DATV signals. Make sure you have the drivers correctly installed or you won’t be able to proceed.
SDR Angel tool is something I learnt about from the video I mentioned above. It is a nice little tool which comes with many great features. The DATV Demodulator in the SDR Angel is what we are interested in. Get yourself a copy of SDR Angel and have it installed.
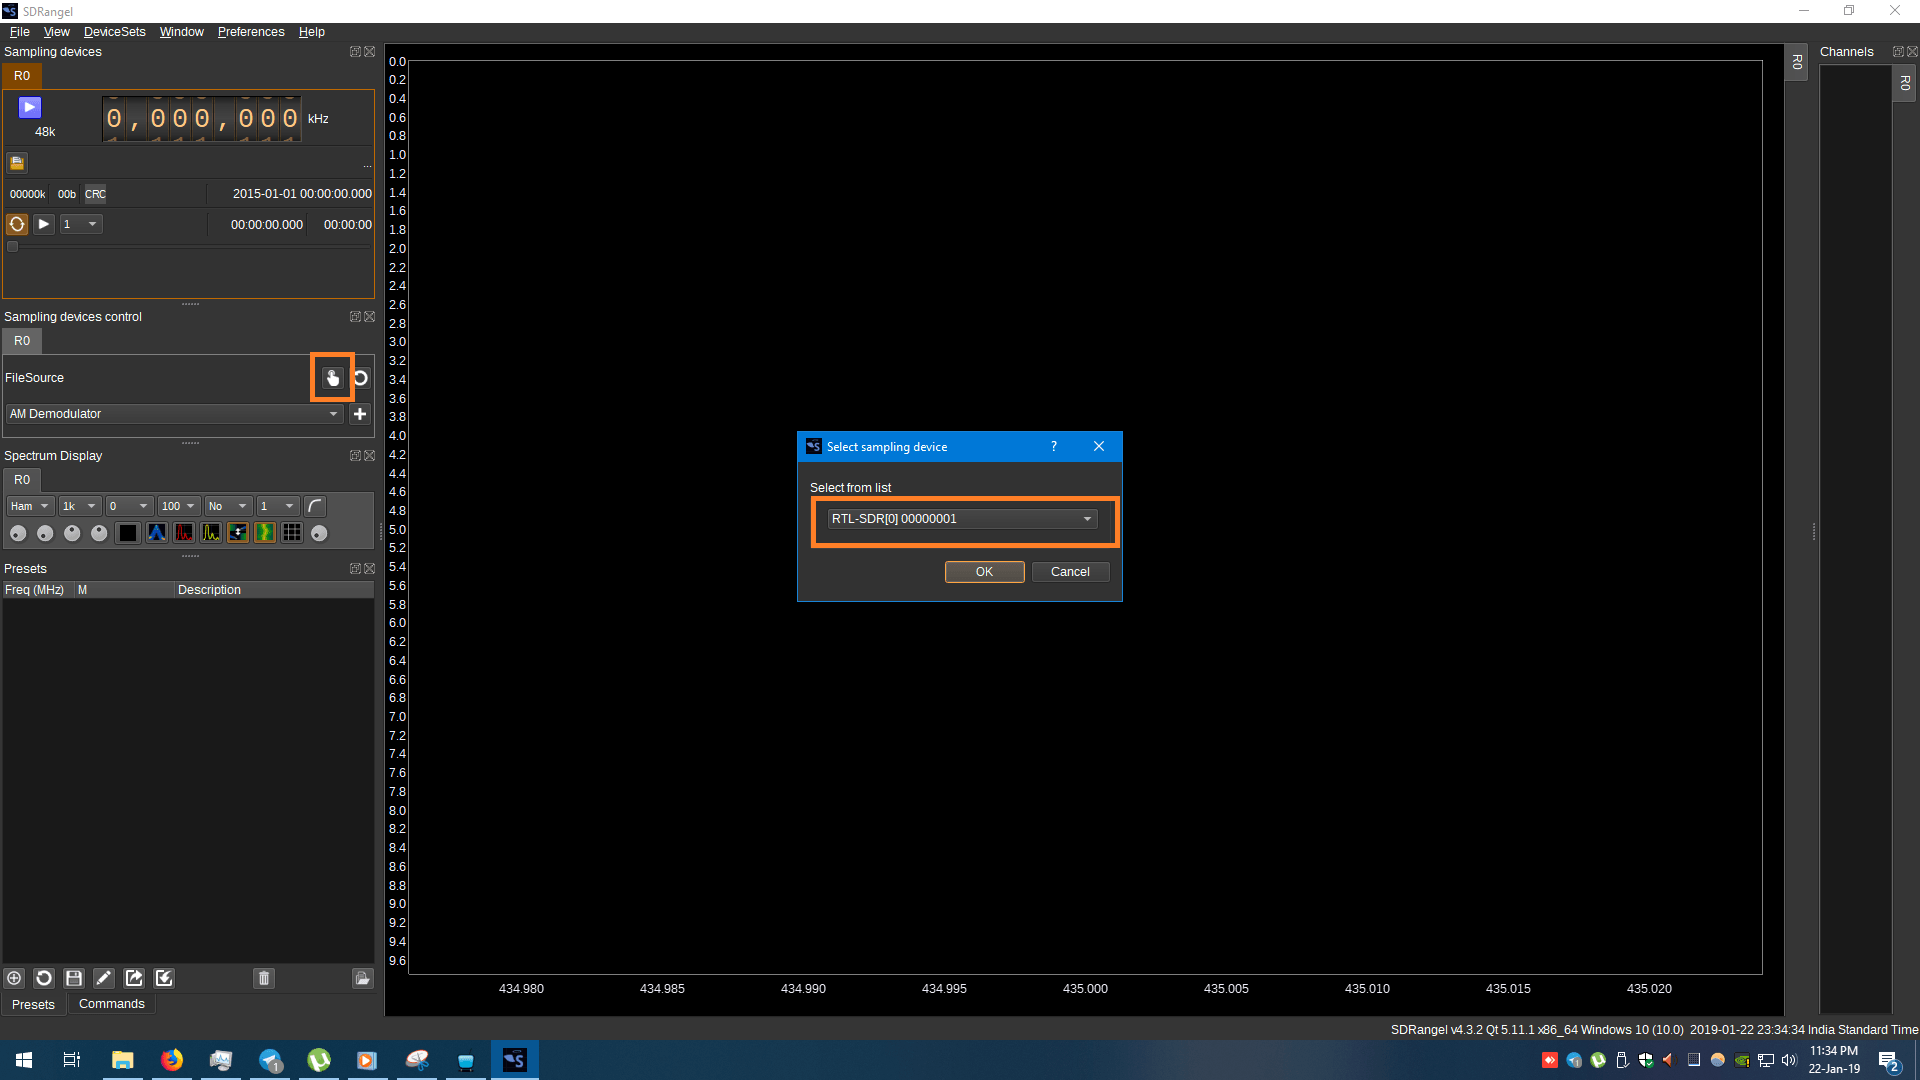
Select RTL SDR source in SDR Angel the way you see in the image. Now, you can set your receiving frequency to whatever you have set in the modulator. In my case it is going to be 436MHz and I will be setting the sample rate to 2.4MSPS. You will also need to set “decimation” to 1 since, the DATV demodulator requires raw data to do what it does.
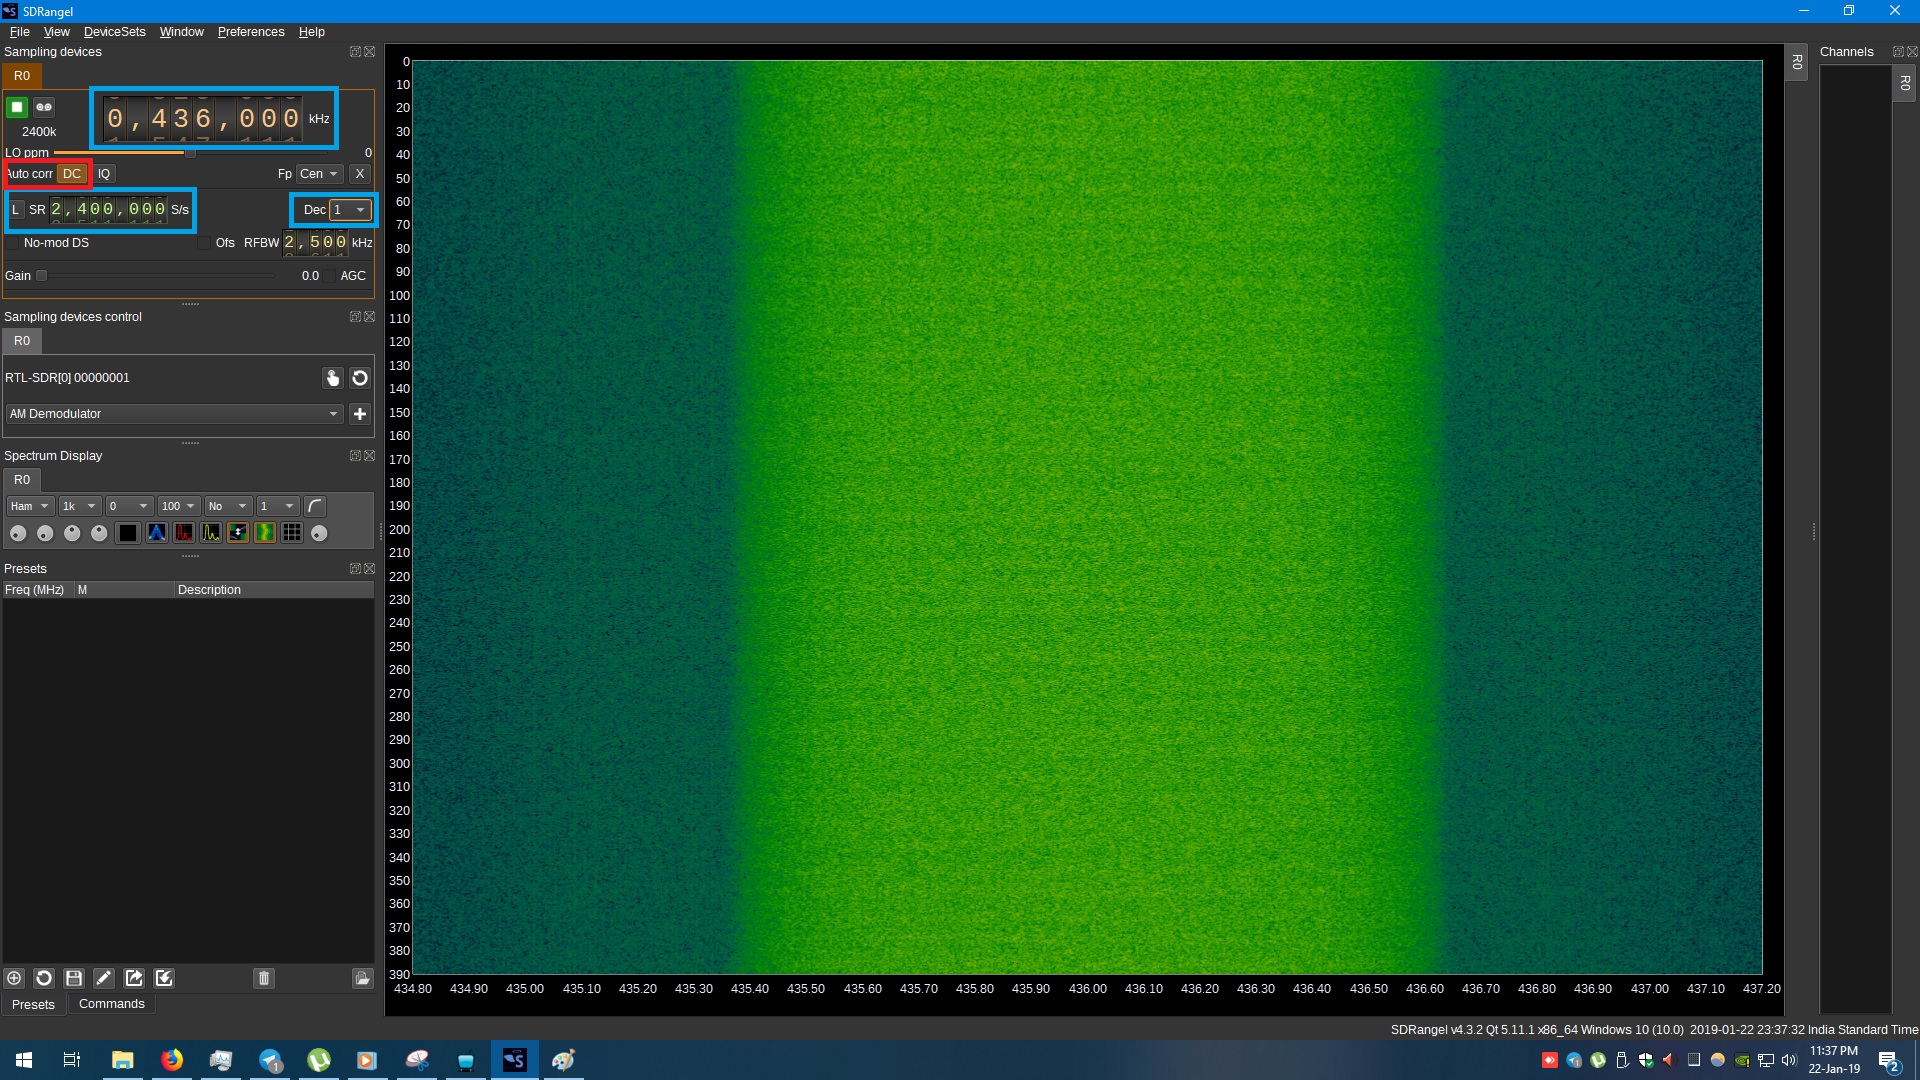
As you can see, we are already receiving the video signals here. The bright band in the middle of the screen is our DATV signal coming from the LimeSDR Mini. Like I said, 950k symbols per second on QPSK occupies a little more than 1MHz bandwidth. You can always try tweaking the settings on the transmitter and see how it affects the spectrum occupancy. It is all about trying out new things.
Now, we need to enable the DATV demodulator and set correct parameters for it to work.
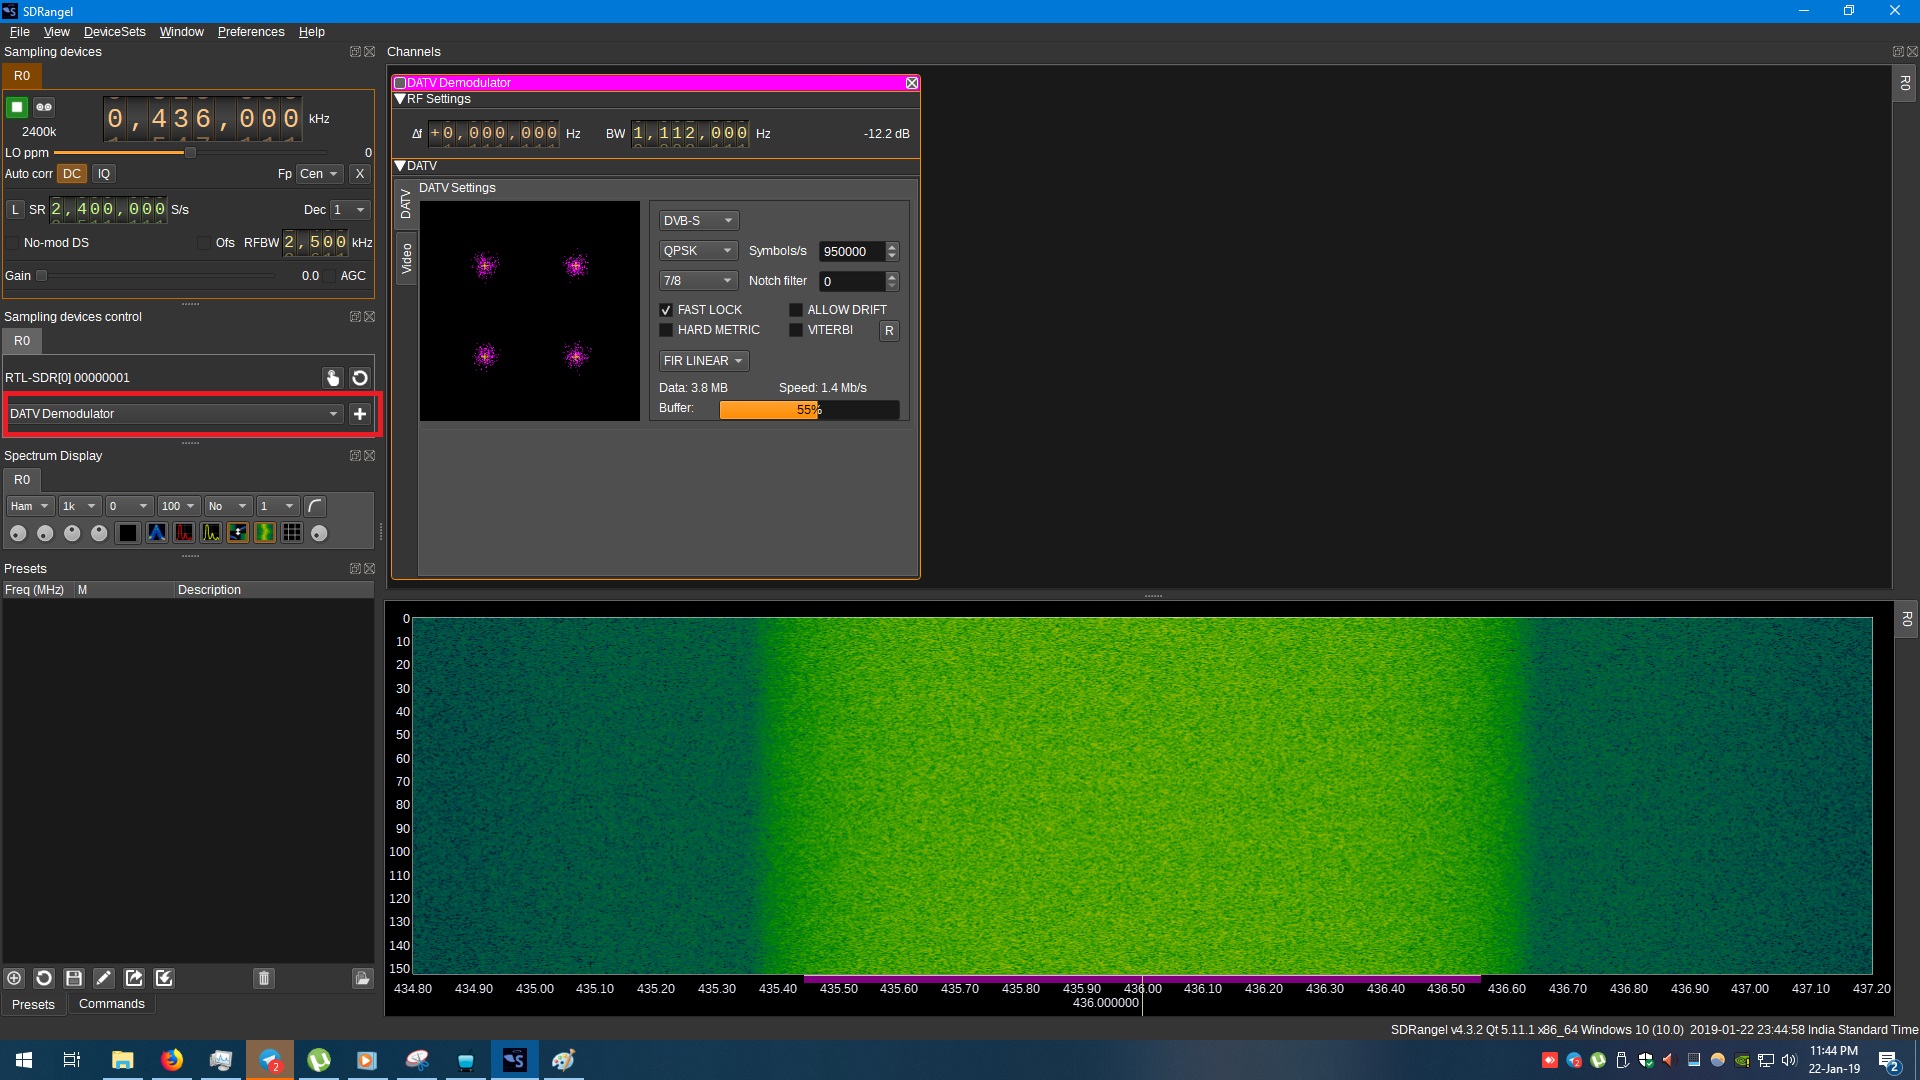
You need to set everything according to the transmitters settings. To remind ourself of the settings, the signal is QPSK modulated with a symbol rate of 950K symbols per second. Likewise, the FEC rate needs to be 7/8 because that’s what we set at the transmitter end. Furthermore, set the bandwidth to approximately 1MHz otherwise you won’t receive anything.
If all goes well, you should see a constellation as seen in the image above. Correspondingly, the frame buffer will start filling up and you will finally be able to see the video in the video tab.
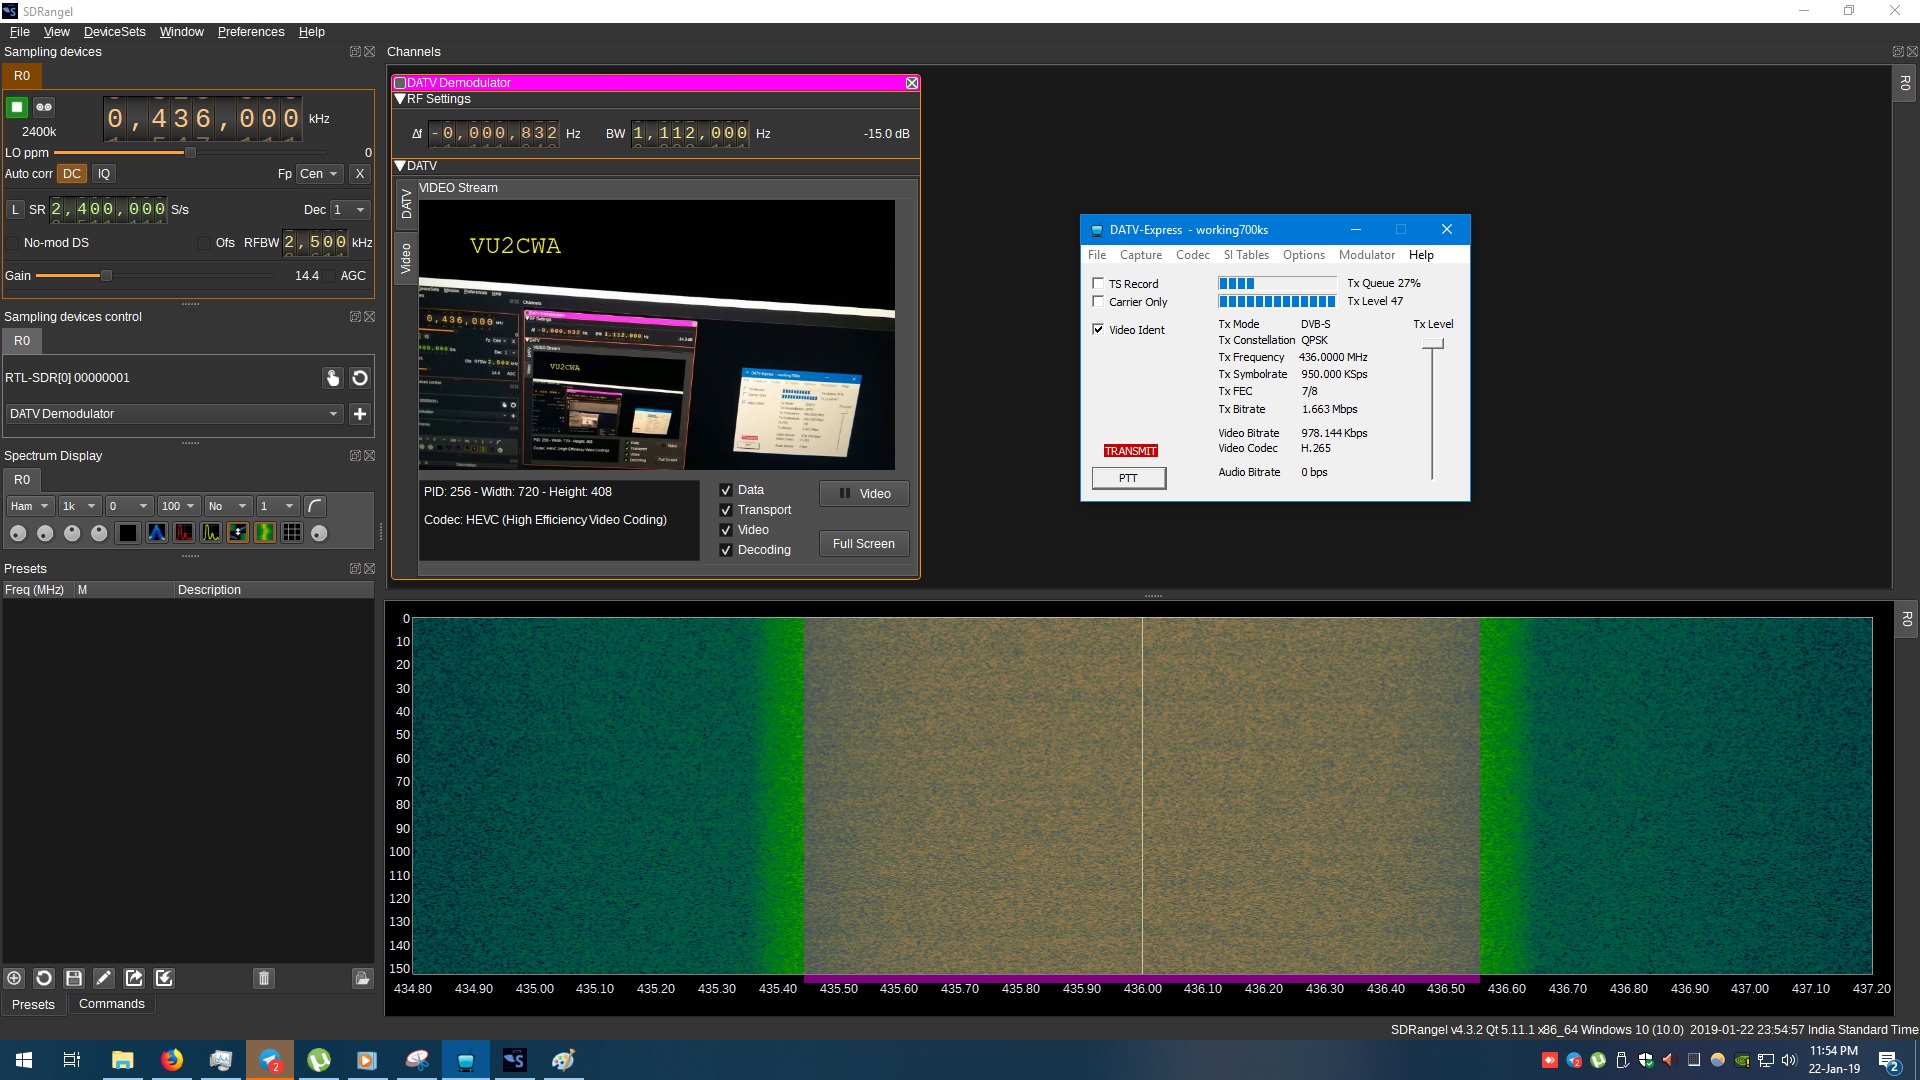
Finally, we are now on AIR with our little DATV setup. Unfortunately, the LimeSDR Mini does not pump out too much power to be able to transmit over long distances. Surely, you will require an amplifier to raise the signal power and go long distance.


Nice one….hope it performs well @KMC 2019