
Security Cameras – How to Install Using Simple Rack Server Setup
Several days ago, I had to do a simple rack server setup for some client. His plan to install security cameras was solely for business purpose and not for personal home use.
Hence, I got the idea “why not write an article off this for my readers about how to use the same simple rack server setup to install home security cameras for maximum protection & perfect cooling and maybe some optional wireless signal coverage?”.
I do have to specify one thing, though. This is indeed suitable for everyone, but take a good look at the costs. A rack server is not that expensive but make sure you choose one that suits your budget.
There are many types of rack servers and different prices. I will show you what kind of rack servers I installed and you decide if the price is right for your budget. Here we go!
Why would I use a Rack for my security cameras?
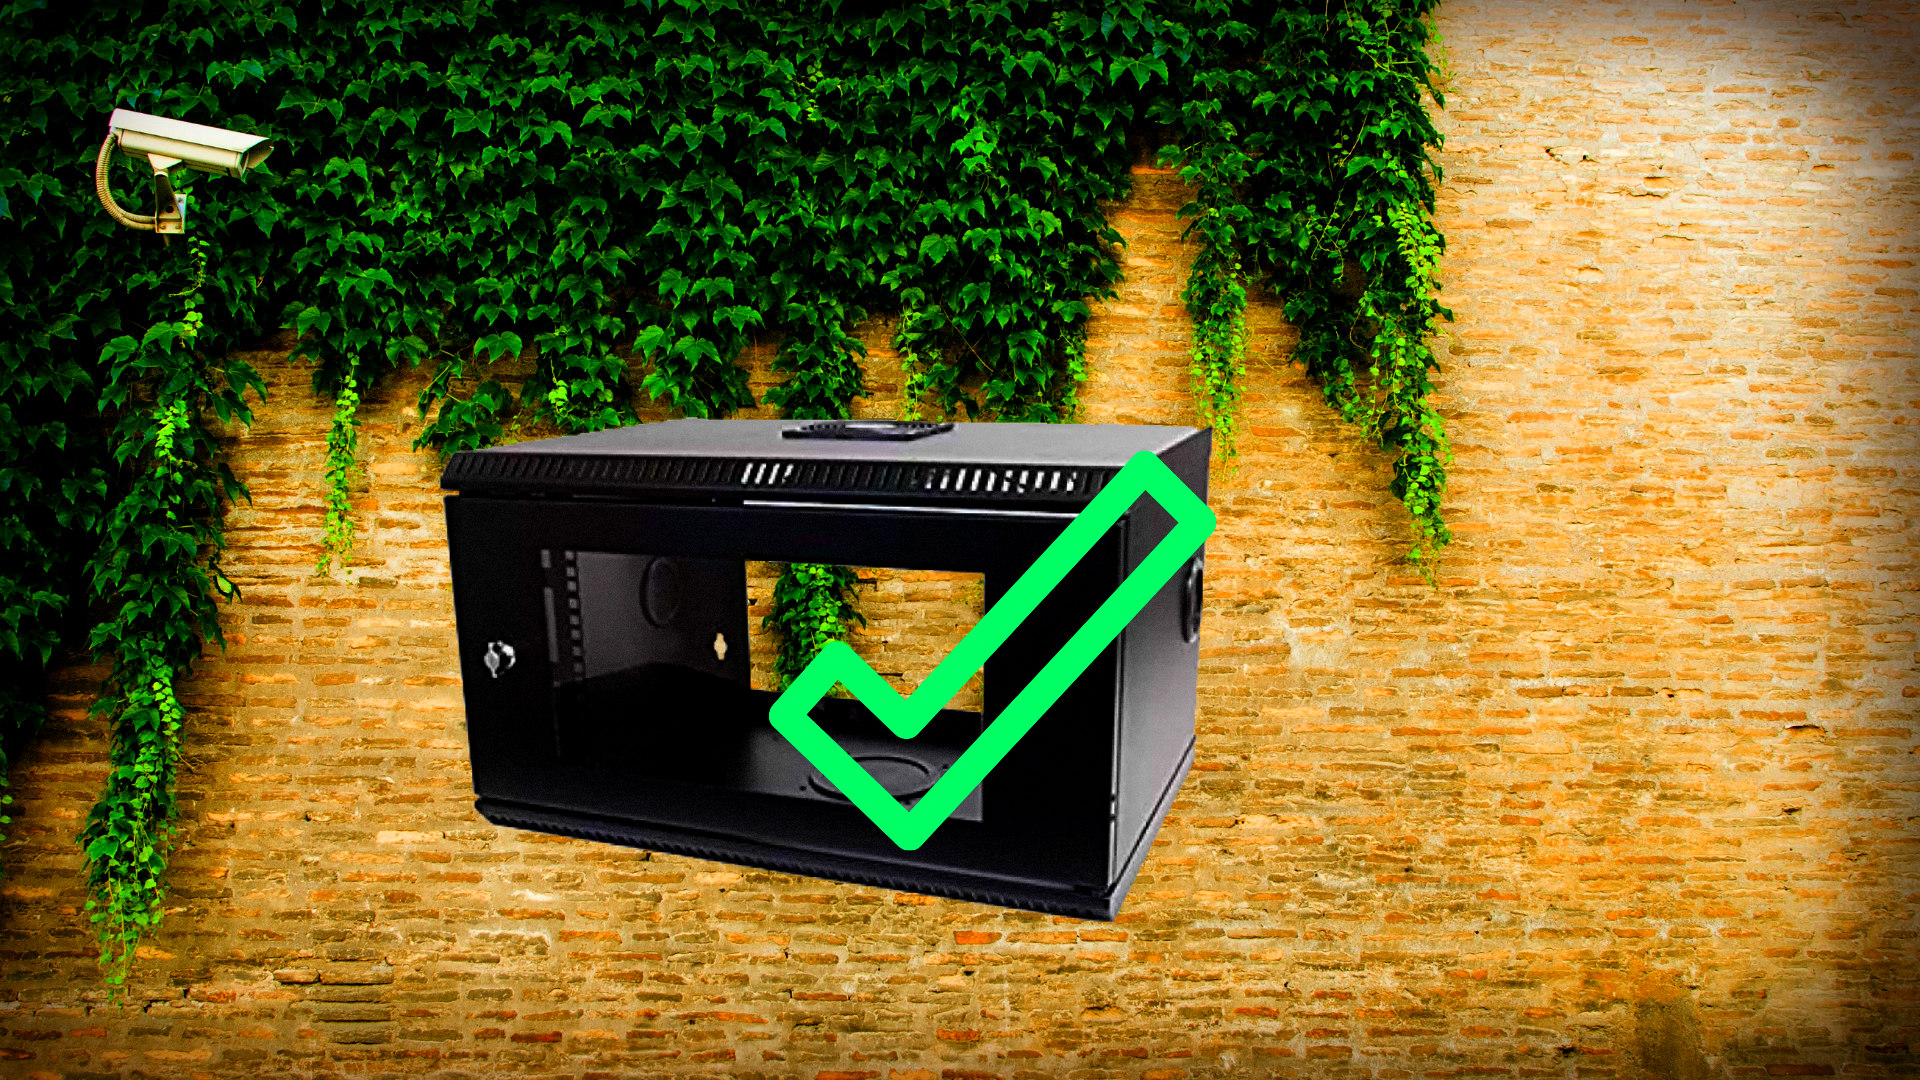
That is a pertinent question, indeed. I would recommend installing a rack for security cameras even if it’s smaller in size.
It’s always good to protect the devices with that rack by installing coolers and locking the rack.
I believe it’s far superior compared to the typical metal box, which I mentioned in one of my articles. If you decide to buy a rack for your security system, go for it! It’s worth the pennies spent.
Most racks come with a beautiful design that appeals to clients. I’ve installed mostly black coloured racks which look amazing and future-like. So the pros of using a rack for home security cameras:
- Tidy interior after installing devices;
- Protection from dust;
- Low heat (make sure you add a layer of protection using coolers);
- Locking doors and window;
- Decent space;
- Comes in many sizes.
Most racks come disassembled so you’d have to spend some time to assemble it. It’s straightforward if you look at the manual they give with the box. Same goes for applying it on the wall you desire.
I have found a nice example of installing a rack server. You can check it here. It is the same process for the smaller size racks but it’s good to understand what this is all about.
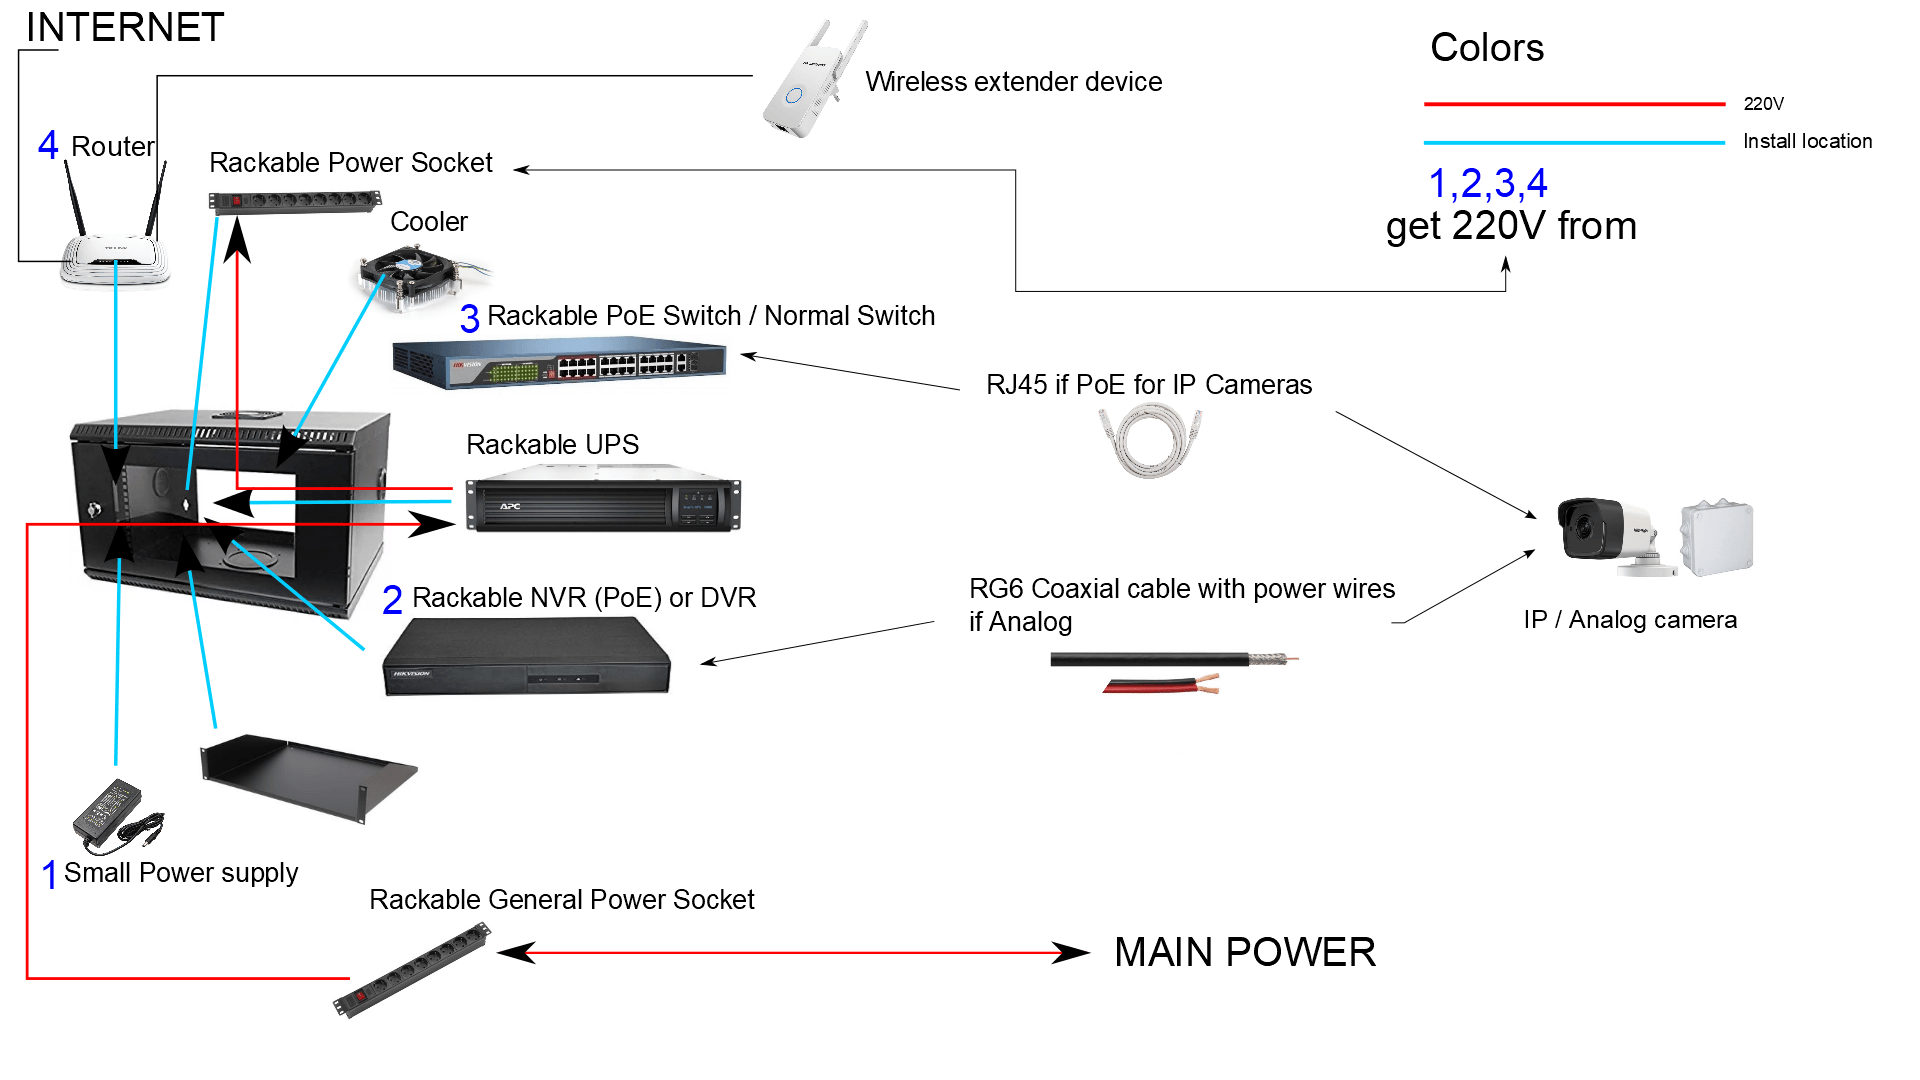
Installing Components within the Rack
Before I list all the components, make sure you manage to understand the good distinction between the system types you are going to mount. I have an article on this called Several Long Distance CCTV Camera Installation Tips which includes the lengths of the cable as well.
- Hikvision rackable simple switch 8/16 ports, simple (or PoE, if the cameras are IP)
- Rackable NVR (PoE) for IP cameras or DVR, 8/16/32 Channels
- UPS (uninterruptible power supply that lasts up to 2 hours)
- FTP cable for IP cameras or Coaxial RG6 for Analog cameras
- Two rackable power sockets, one for general purpose, one that comes out of UPS
- Special Rack coolers (optional with temperature sensors)
- Plug into UPS power supplies to power cameras up locally if you don’t use PoE
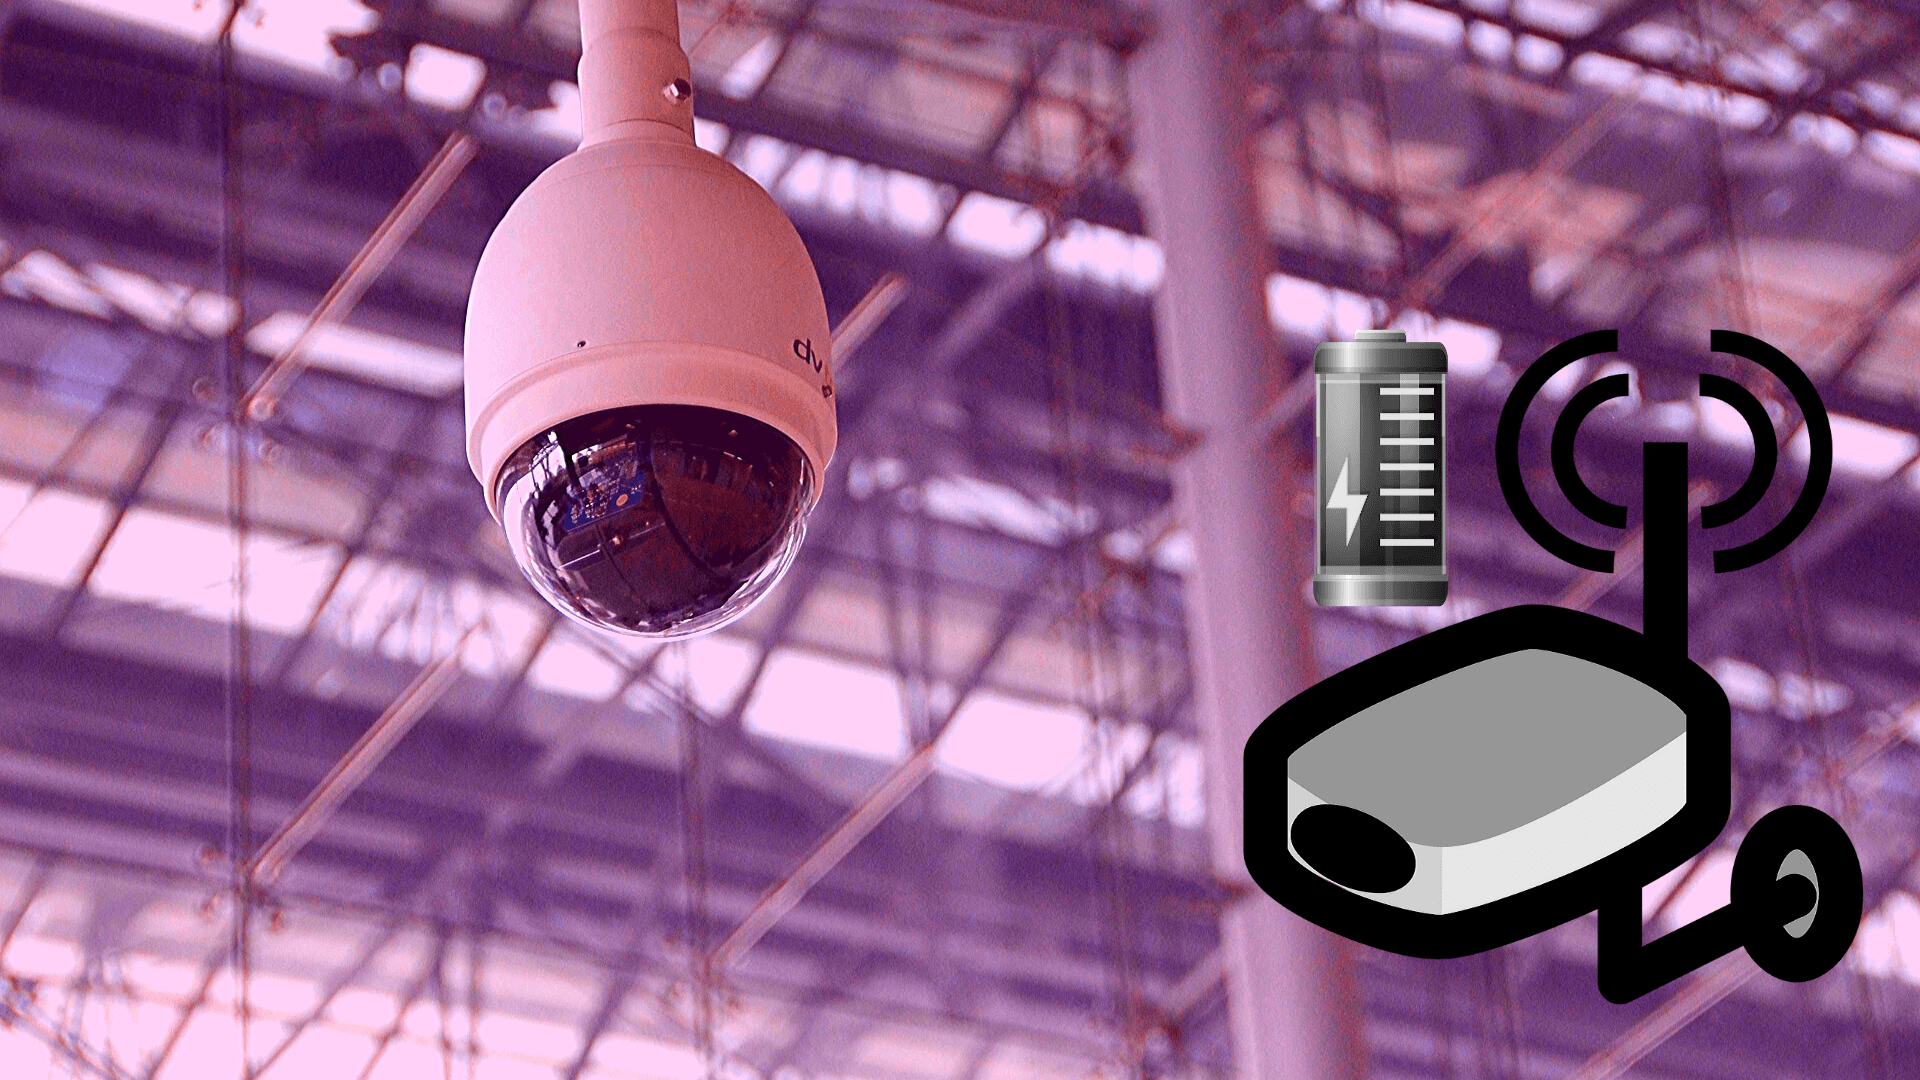
- Router with internet /or 4G router
- Wireless AP’s or wireless signal extender or even Ubiquiti LR Antennas outside the rack
- Rack shelf for putting devices that aren’t rackable in (ex. DVR)
For more information about installing a security system refer to one of my other articles called DIY Learn How to Install Home Security Cameras (with charts)
Rack server design

Voice of the people