Running OpenWebRX on IPv6 address

Right back in the year 2011, the last blocks of the IPv4 address space were allocated. There were no new blocks left for any future expansion of the IPv4 address. This happened because more and more devices started connecting to the internet. It’s been exactly 10 years since 2011 and there have been many changes in the way ISPs operate. Carrier Grade NAT; A common solution adopted by many ISPs worldwide. Now, that allowed a common IPv4 address to be shared among a maximum of 128 network connected devices. CG-NAT is still not a long term solution to the problem, rather, a way to buy some time to roll-out IPv6. This tutorial teaches you how OpenWebRX, can be hosted with a public IPv6 address.
Small changes in the program
Make sure to install OpenWebRX using the general installation guide given on their github.com page. Make sure that your OpenWebRX installation works with localhost address. Now, we know that everything is working fine on IPv4. You shouldn’t proceed without getting it to work on IPv4.
First file
Assuming that your OWRX to be working fine in your browser, open /openwebrx/owrx/__main__.py. Add the following line after import signal.
|
1 |
import socket |
Somewhere around line number 20 you will find class ThreadedHttpServer(ThreadingMixIn, HTTPServer).
We need to change this class into the following:
|
1 2 3 |
class ThreadedHttpServer(ThreadingMixIn, HTTPServer): address_family = socket.AF_INET6 pass |
Come right at the bottom of the file where you can find the “try:” section. We need to modify the HTTP server instantiation to bind to a IPv6 socket. Replace the try part of the code with the following code.
|
1 2 3 |
try: server = ThreadedHttpServer(("::", pm["web_port"]), RequestHandler) server.serve_forever() |
Modifying the second file
In the same folder find socket.py and open it with your text editor. We need to make amendments to very first line after function declaration.
|
1 |
s = socket.socket(socket.AF_INET6, socket.SOCK_STREAM) |
The code socket.AF_INET works for IPv4. We changed it to socket.AF_INET6 to make it work with IPv6 binding.
Testing OpenWebRX on IPv6
We did the required changes to the Python code and now it needs some testing. Firstly, you need to find your IPv6 address. On Windows, fire up command line and ipconfig /all will give you the IPv6 address. On linux, you got two ways to find your IPv6 address. Type one of the following commands.
- ifconfig
- ip addr show
Either command will show you a maximum of 3 IPv6 addresses. Only one of them is our public routable IPv6. The second command will tell you which one you should select.
You should see something like this in your terminal.
inet6 2dd2:f220:3d17:bf:2354:239:123c:563e/64 scope global temporary dynamic
This is your IP v6 address which points to your PC or the device you are running OpenWebRX on. Take this IP and enter it in your browser URL like below. Oh! Don’t forget to run OpenWebRX before you enter the URL.
http://[2dd2:f220:3d17:bf:2354:239:123c:563e]:8073
Before you share this URL with your friends, make sure you disable the firewall on your router. With IPv6 there is no port forwarding necessary. Use this tool to check whether your service can be accessed by outside world.
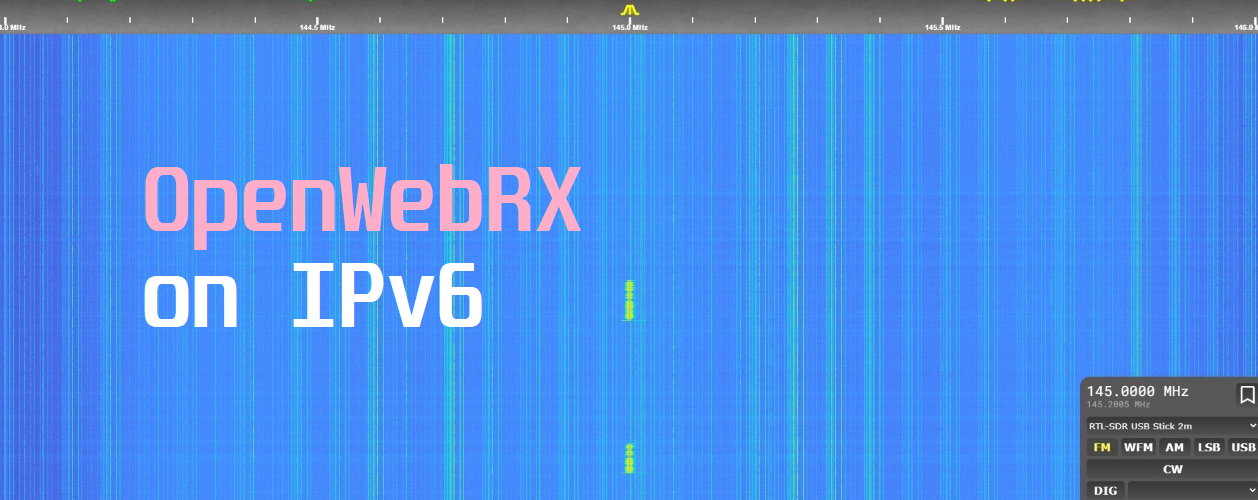
If everything goes well, you should have a beautiful screen as below.

In case you are too lazy to modify this all by yourself, you can simply download the modified file below. Extract them in the /openwebrx/owrx/ folder.


Hello!
We are from the Communication Networks Chair at the TU Dresden in Germany. We have an open position for a Ph.D. candidate in Post-Shannon communication. We need someone with knowledge of SDRs. If you know someone who might be interested, please let them know.
This is the job offer:
https://tud.link/fbni
This is our Chair:
https://cn.ifn.et.tu-dresden.de/
Hi,
Your detailed write up was very helpful in setting up my websdr. Also enjoyed reading your nanovna page.
Thank you