Getting LimeSDR Mini to work for the first time
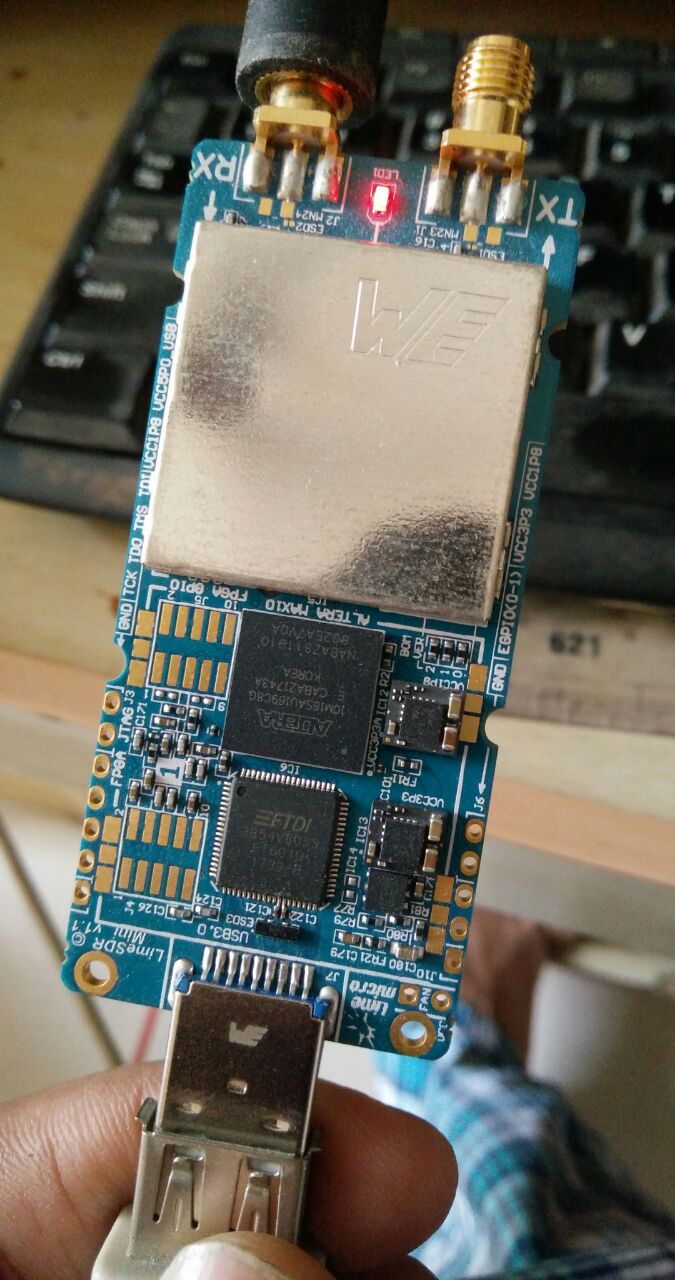
LimeSDR is a real temptation to buy if you are an RF or a signal processing guy. We all know FPGAs give you a huge set of building blocks of the digital world and you can create whatever you want out of it. LMS7002 chip is a Field programmable RF IC which forms the heart of the LimeSDR. The possibilities achievable with this little device are more than enough for a hobbyst like me. I need not mention the possible applications here, you can read them out on the official website.
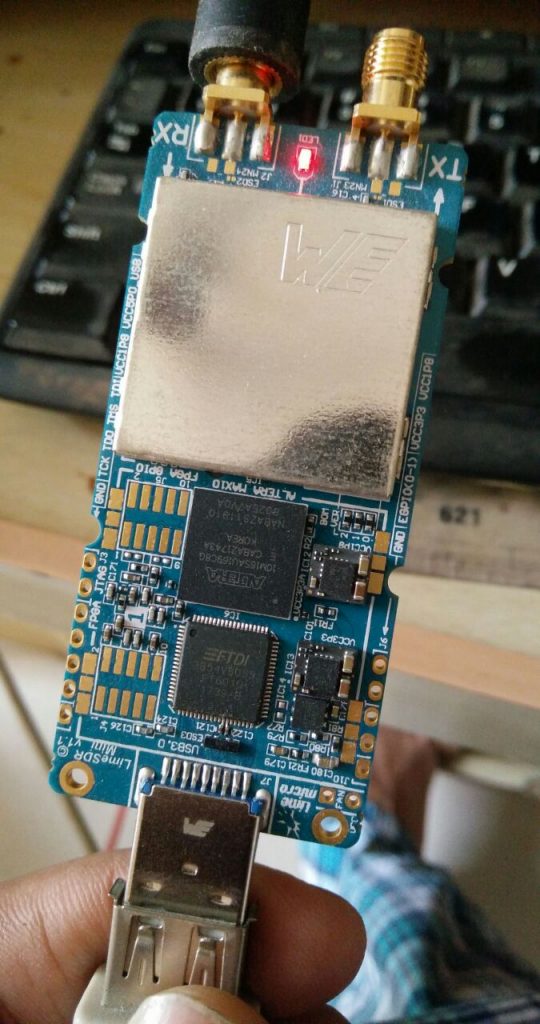
LimeSDR can cost you $299 whereas the LimeSDR Mini costs $139 (likely to rise). The Mini does not have MIMO capabilities and is a much smaller device. It also comes with a 30.72MHz of real time bandwidth as compared to 60MHz on the LimeSDR. Now, this is entirely due to the single RX channel and a smaller FPGA on the Mini.
I purchased this device back in December 2017 and only received it in the month of April. The installation procedure for this is not as straight forward as the RTL-SDR. Support is slowly building up which will include commonly used SDR programs. For now, we have the HDSDR which can support LimeSDR but I haven’t been able to get it to work with the LimeSDR Mini.
Installing the LimeSDR Mini
LimeSDR works upon installing the LimeSuite and needs no additional driver installation. LimeSDR Mini, on the other hand, requires FTDI drivers for proper functioning. I happened to install the LimeSuite and expected things to work right away but it didn’t. Apparently, I had missed installing the FTDI drivers. You can find these drivers at this link: FTDI Drivers for LimeSDR Mini
Get the LimeSuite from this link which also installs Pothosware. LimeSuite
After the installation, go to the “INSTALL DIR”/bin/ and run this command:
|
1 |
LimeUtil --find |
…and you should see something like this.
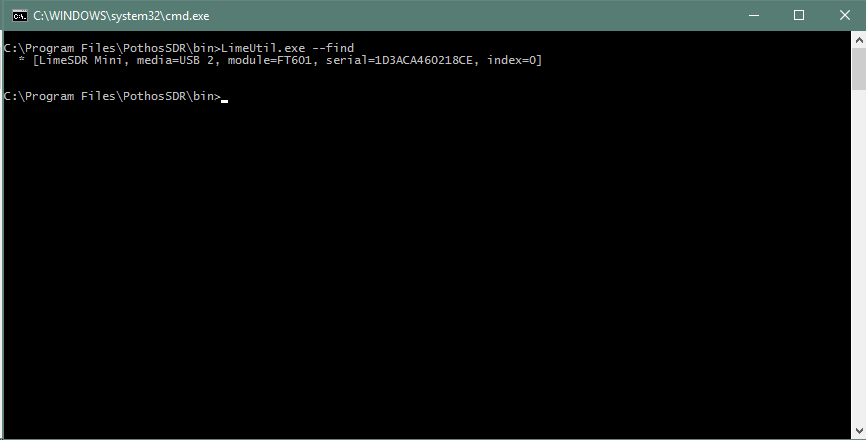
With this, all seems to be working good. There should be no problem running the LimeSuite GUI and have a look at the live spectrum. Start the LimeSuite by typing it into the start menu and run the application.You should then connect to your GUI as shown.
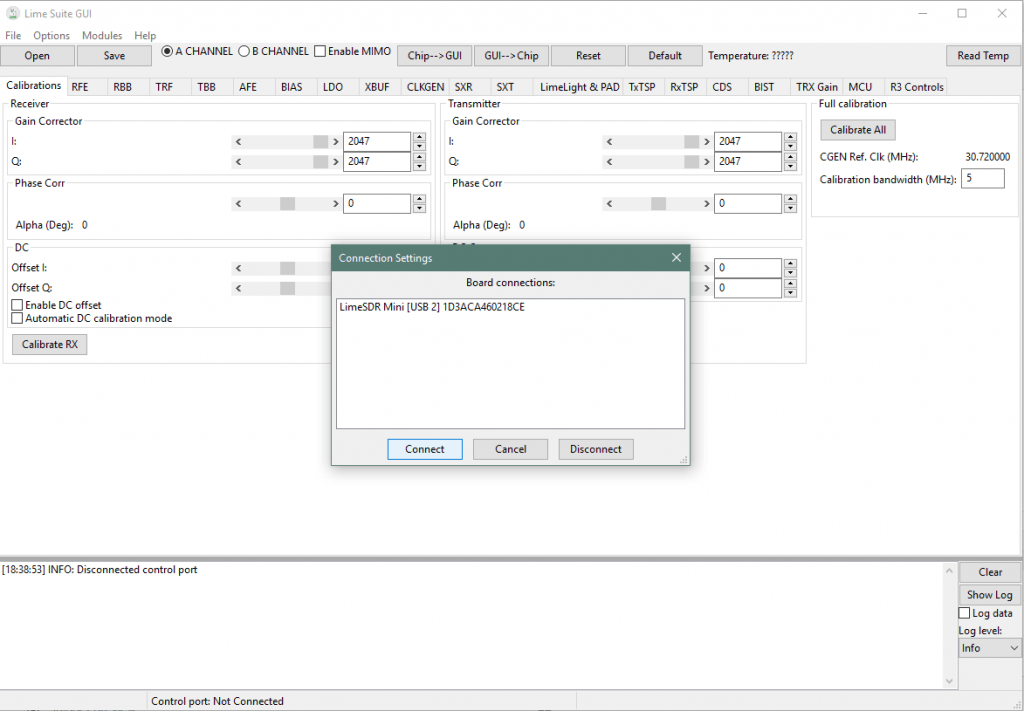
A successful connection should give you this message in the console:
|
1 |
[18:39:45] INFO: Connected Control port: LimeSDR-Mini FW:5 HW:0 Protocol:1 GW:1.24 Ref Clk: 40.00 MHz |
Observe the line and note the GW: 1.24 which indicates that your FPGA Gateware version is 1.24. This is the version they are putting into production units of the LimeSDR Mini. Now, let us reset our device with default options by clicking the Default button at the top. This tunes the LimeSDR Mini to 1200MHz which happens to be the default frequency. You can change the receiver frequency by selecting the SXR tab and entering the desired frequency. After you do so, press the calculate button for it to get into effect.
Viewing the spectrum for the first time
The most interesting part with the LimeUtil is the FFT Viewer. Open the FFT Viewer by going into the Modules drop down menu above. Once the FFT window is open, you can set the desired bandwidth and finally press on “Start”.
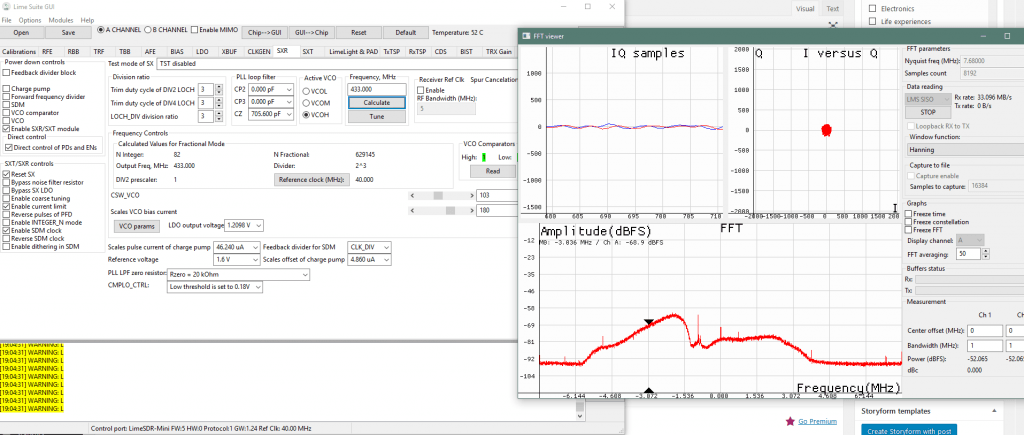
I have set the SXR frequency to 430 MHz and a real time bandwidth of 7.68MHz. Since, I am operatin this device on a USB 2.0, going for a higher bandwidth causes packets to drop out. I have also reduced the FFT resolution to 8192 from 16384.
There is a lot to explore in the world of RF and this is the only beginning. GNU Radio support is already present for Linux users and the Windows library is under development. I hope you enjoyed this brief introduction to this new SDR on the market. The possibilities are truly limitless.


Hey Salil….
Its really seems to be rocking to work with dis LimeSDR. Outputs are seem to be gr8. Also it has tx rx both.So very much useful device. Interesting topic to get into.
Were you able to use TX on using LimeSuite? If so, please post a tutorial. Thanks a lot!
Hi, I was able to transmit a single tone through LimeSuite and receive it simultaneously. I haven’t tried any kind of data transfer as of yet.